Hairline cracks and small surface cracks are a normal part of concrete aging. The key is addressing them before they become large cracks. Here's how to do it yourself for minor repairs.
Assess the Crack First
Before you repair anything, understand what you're dealing with. Hairline cracks and cracks up to 1/4 inch wide with no vertical displacement (both sides of the crack are level with each other) are good candidates for DIY repair. Cracks wider than 1/4 inch, cracks with one side higher than the other, or cracks that are actively growing should be professionally assessed — they may indicate a sub-base issue that a surface repair won't solve.
Cleaning the Crack
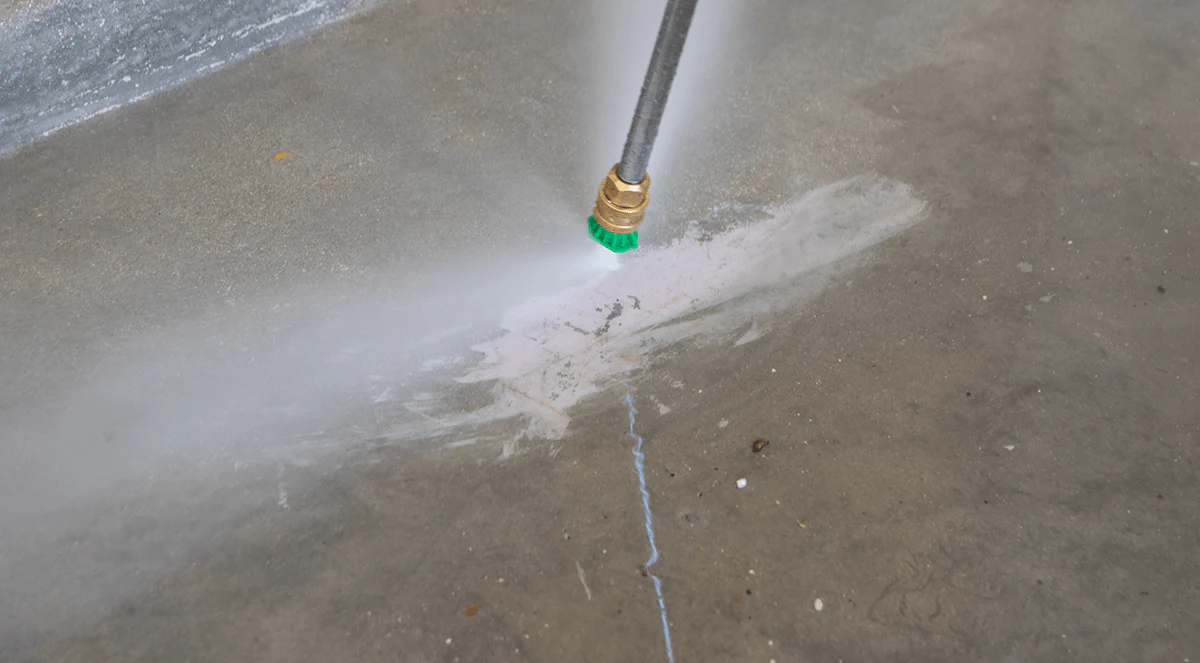
Clean out any debris, dirt, or loose material from the crack using a wire brush, compressed air, or a pressure washer. The repair product needs to bond with the concrete, not with dust and debris. Let the crack dry completely before filling — moisture in the crack prevents proper adhesion.
Choosing the Right Filler
For narrow hairline cracks, a concrete crack sealer in a pour-style bottle (polyurethane or acrylic-based) flows into tight spaces effectively. For wider cracks up to 1/4 inch, a polyurethane caulk specifically formulated for concrete provides flexibility that helps accommodate thermal movement. Avoid rigid patching mortars for hairline cracks — they don't flex with the concrete and tend to crack again quickly.
After the Repair
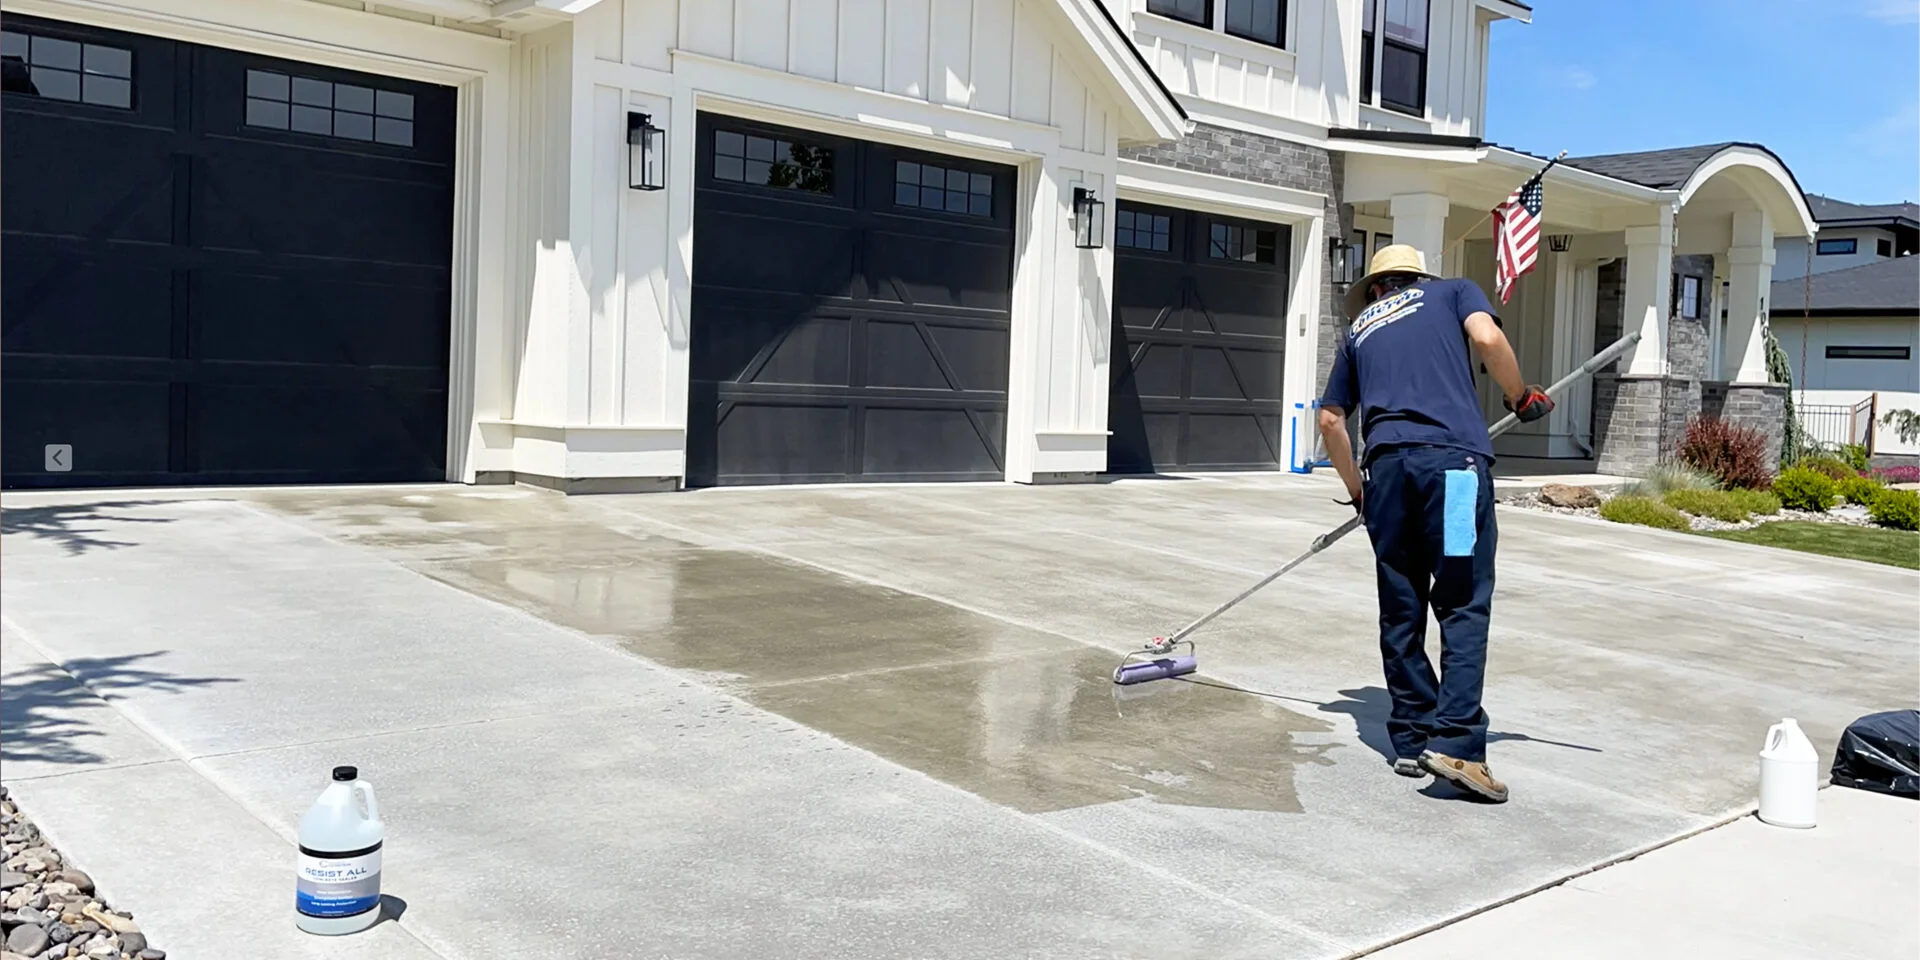
Allow the filler to cure per the product instructions, then seal over the repaired area with a concrete sealer to protect the patch. If your driveway has multiple cracks and patches accumulating, it may be time for a professional assessment about whether repair or replacement is the smarter path. Call (479) 551-1642 for a free, honest evaluation.